With all the news coverage of the Meltdown, Spectre and whatever name exploits in the media, when I received the chance to upgrade to the newest version of Chrome OS, I jumped on it. This particular version for my ThinkPad Chromebook also included a firmware upgrade, which to me meant something new - I have not seen a firmware update in Chrome OS until then. The downside of the update is that it required a ‘Power wash’ of Chrome OS, essentially resetting the machine back to stock. I thought about it for a little and decided to take it a step further and take the machine out of developer mode and see if with Android apps if I could mitigate the need for the elevated permissions on Chrome OS.
Resetting Chrome OS
This part was the easiest, once the firmware update was completed I pushed the space bar to return to the ‘stock’ permissions, and did another power wash on the ThinkPad. There are a few reasons why I did this, one of them being security - since I had a chance of being able to not need the elevated permissions to be productive, I figured this was a no brainier. Eliminating the ‘beep beep beep’ that you get in developer on reboot - this was a ‘minor’ plus, but not worrying about waking our one or three year old children is always is a win. Finally, getting back to not having to worry about an update causing me headaches on the Chromebook - one of the main selling points of Chrome OS and it was welcomed.
Termux
The main key to getting away from Developer mode on a Chromebook was Termux hands down. In short it’s a terminal emulator and Linux environment for Android with a package manager. You can read more about it on their website or in the post I made about Running Hugo on Chromebook a few months back.
Git
To say that having git on the Chromebook was needed would be an understatement. I’m really almost lost without it anymore. The great thing with Termux, installing git is as easy as the following:
apt update;\
apt install -y git;\
That’s it - I don’t think that it could be simpler than that. One other thing to keep in mind though, you will also need to run the following if you want to access the Chromebook’s storage as Termux has its “own” file system, so without the commands below you’ll be stuck in there.
apt update;\
termux-setup-storage;\
This drove me a little batty until I figured it out
Hugo
If you read Running Hugo on Chromebook , its safe to say as of this writing the Camping Coder blog is generated on Hugo. This gave me the most headaches by far in this whole resetting to stock process. I’ll document the issues that I ran into to hopefully save others the same headaches.
Installation
Back in November, I started with a gist Hugo-on-android which was for android installations, but with some alterations worked on Chrome OS via Termux as documented in the Running Hugo on Chromebook post. When I went to run the script as I had left it and received only errors.
After searching and fiddling, I came up with the following to make Hugo work:
# Install hugo
apt update;\
apt install -y golang;\
export GOPATH=$HOME/go;\
export PATH=$PATH:$GOPATH/bin;\
go get -v github.com/gohugoio/hugo;\
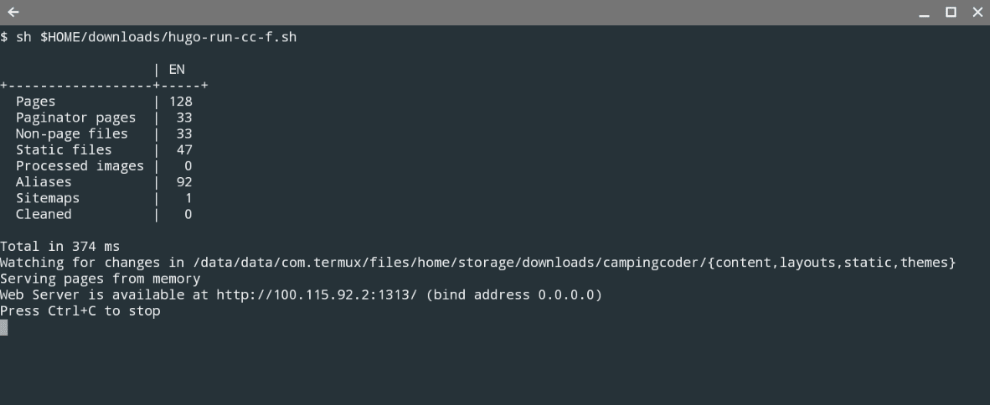
hugo server -s docs --bind="0.0.0.0";
From there, you can simply make sure that exports are complete and call Hugo from any folder.
export GOPATH=$HOME/go;\
export PATH=$PATH:$GOPATH/bin;\
hugo server -s docs --bind="0.0.0.0";
I tend to keep all of this in a shell script with the path hard coded so I can easily call the whole thing, as Termux does not notice when Chrome OS changes a file and you’ll need to manually rebuild on changes.
More Hugo problems
With Hugo now working and the documents showing, I went on my merry little way writing posts - that was until I went to preview the site. To say that it was a bit odd looking would be an understatement. It was just a mess - some pages built, some partially built, etc. After hours of ‘debugging’ Hugo and the like, I realized that my site template was off and that the prior releases of Hugo had just allowed it.
My first plan of attack to fix the problem was to simply install an older version of Hugo - but then I found that there is no way to specify the version of the code in “go,” as with the Chromebook I build the application from source code. Arg… so I trudged through making the ‘fixes’ to my template and finally got it to work properly. Once working, I took a snapshot of the go folder and updated my Docker Image to match my Chromebook’s installation.
Nodejs
Node js was just as easy as git was to install using the following:
pkg install nodejs
I even installed the Firebase CLI without any major issues.
Overall
Even with the Hugo heartburn, I’m happy that I made the switch back to a 100% stock installation of Chrome OS. While I used Chrome brew, I really didn’t use too many of the Developer mode features like Crouton and such. With being back to a normal installation using Termux, I feel like not only is the machine more secure, but that I can worry less about future upgrades causing me headaches.
Reference Information
The following post are what helped me get thru this little project:
Links to the other posts in the Chromebook series
- Android Apps arrive on ThinkPad Chromebook 13
- Running Hugo on Chromebook
- Thinkpad Chromebook a year later
- Resetting My Chromebook Back to Stock
- Hugo + gulp = Chromebook awesomeness
- Running Tmux for Termux on a Chromebook
- Hugo + SHH - gulp = a new workflow
- Hugo and droppy, Chromebook friends
- 3D Printing from a Chromebook
- Monoprice Mini Delta
- 3D Printing with Astroprint
- Scaling woes with 3D Printing
- Maxing out the Mini Delta 3D printer
Always follow the manufacturers instructions, this write up is simply the way that I do it, and it may or may not be the right way. Use your common sense when applying products to or altering your stuff and always wear the appropriate safety gear.