If you read any of the other posts in the 3D printing series you’ll know that after reading The MagPi issue 69 I think that the itch of 3D printing had solidly re-emerged in me. Additionally, if you’ve looked around Camping Coder you’ll also know that I’m a huge fan of Chromebooks in general. That’s where the AstroBox Gateway Raspberry Pi 3 Kit comes into play. It’s an awesome little tool which will allow you to easily print to your Monoprice Mini Delta from your Chromebook.
The pre-work
I like the idea of trying something before shelling out money to use it. The cool thing about AstroPrint is that they make the AstroBox software free to download and install on almost any raspberry pi, there’s a limit of two printers, but that’s enough to test it out. Lucky, I had a few parts lying around and hacked together a working AstroBox.
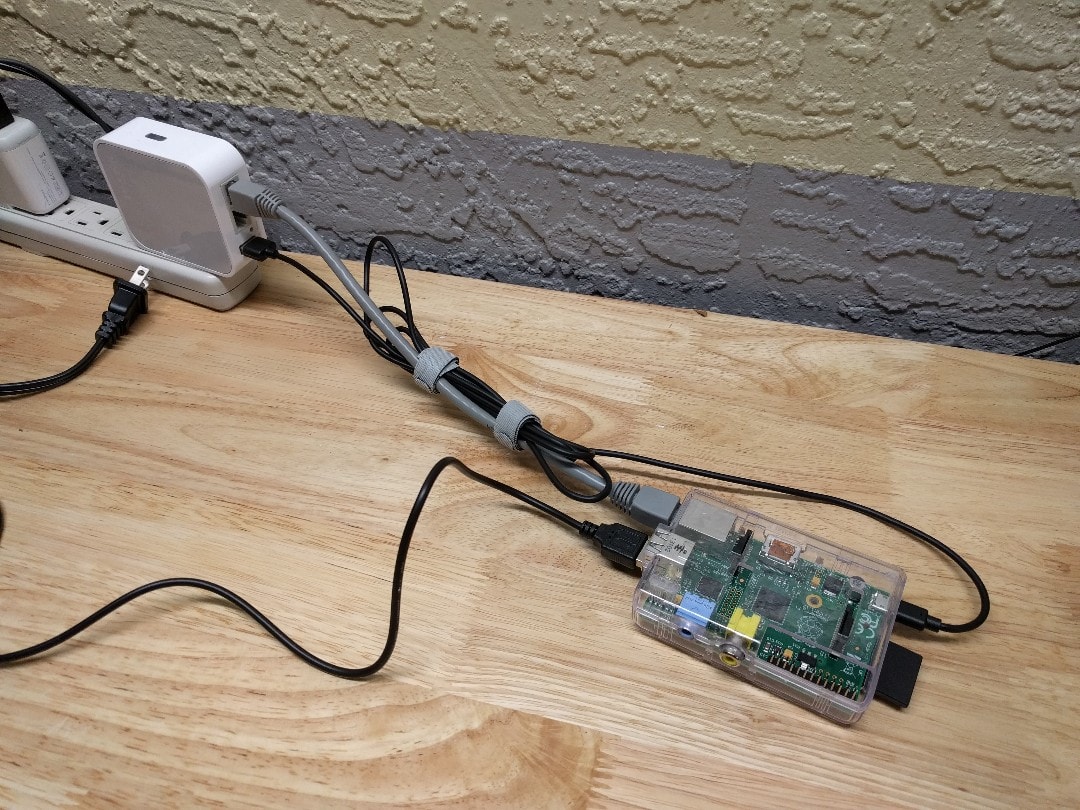
To my delight, with only a raspberry pi 1 b I was able to connect the Monoprice Mini Delta and start printing. I even was able to monitor the prints remote from my ASUS ZenPad 3S, which was just cool. The only issue that I had was connecting a web camera to the device, but that’s mainly because it was a generation one raspberry pi.
Buying into the system
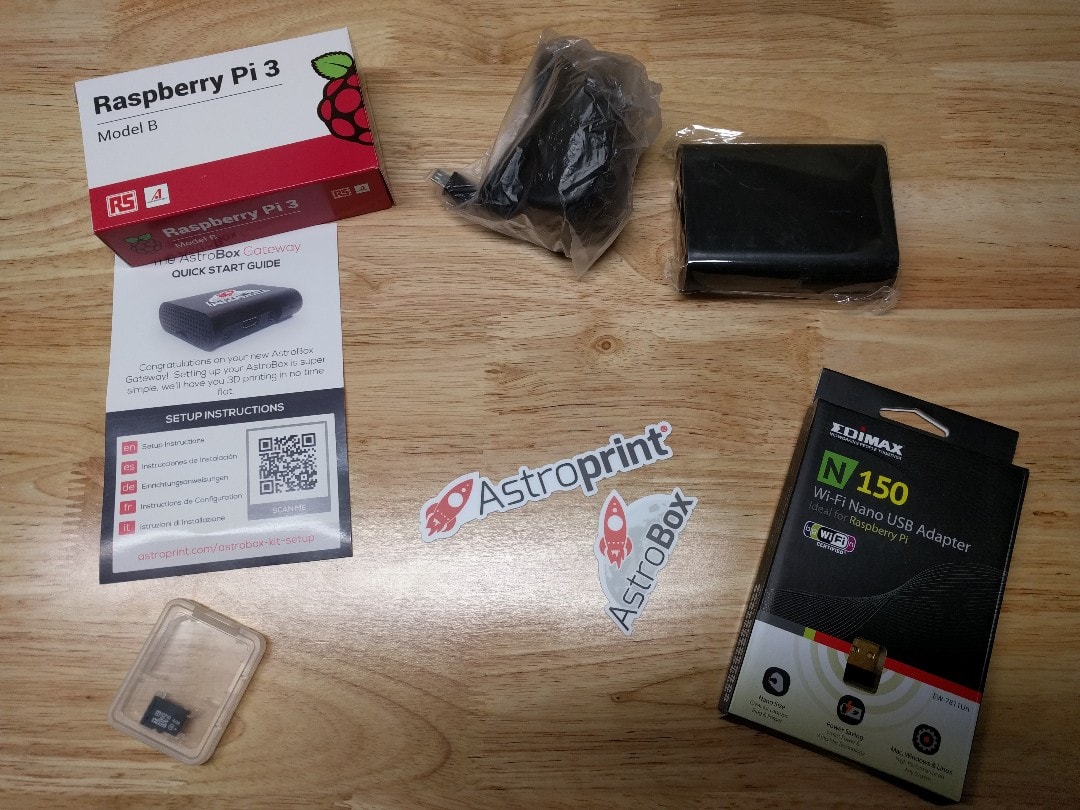
I’m of the thought that if I use a service that I should at least attempt to support it a little. With that said, after testing my hacked together setup I needed to get a Raspberry pi 3 so that the web camera would work. Since I was buying this anyway I picked up the AstroBox Gateway Raspberry Pi 3 Kit from their store.
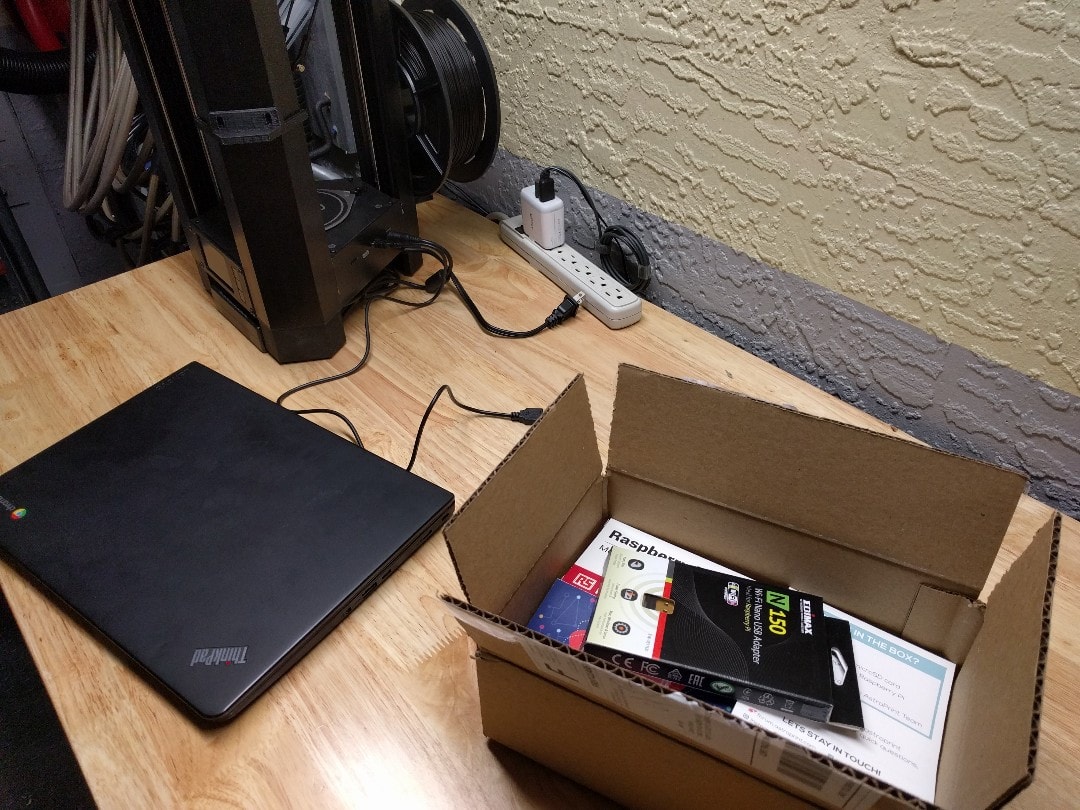
There are two cool things about buying a kit rather than hacking together a setup. First off it’s your time - you don’t need to search around for the parts and hope they are right. Secondly you directly support the folks whom are building all of the system out. Trust me, I looked at building out an Octoprint for a little, but the AstroPrint system is just complete. Personally, I’d rather be making prints than messing with configurations or trying out different components.
Using it
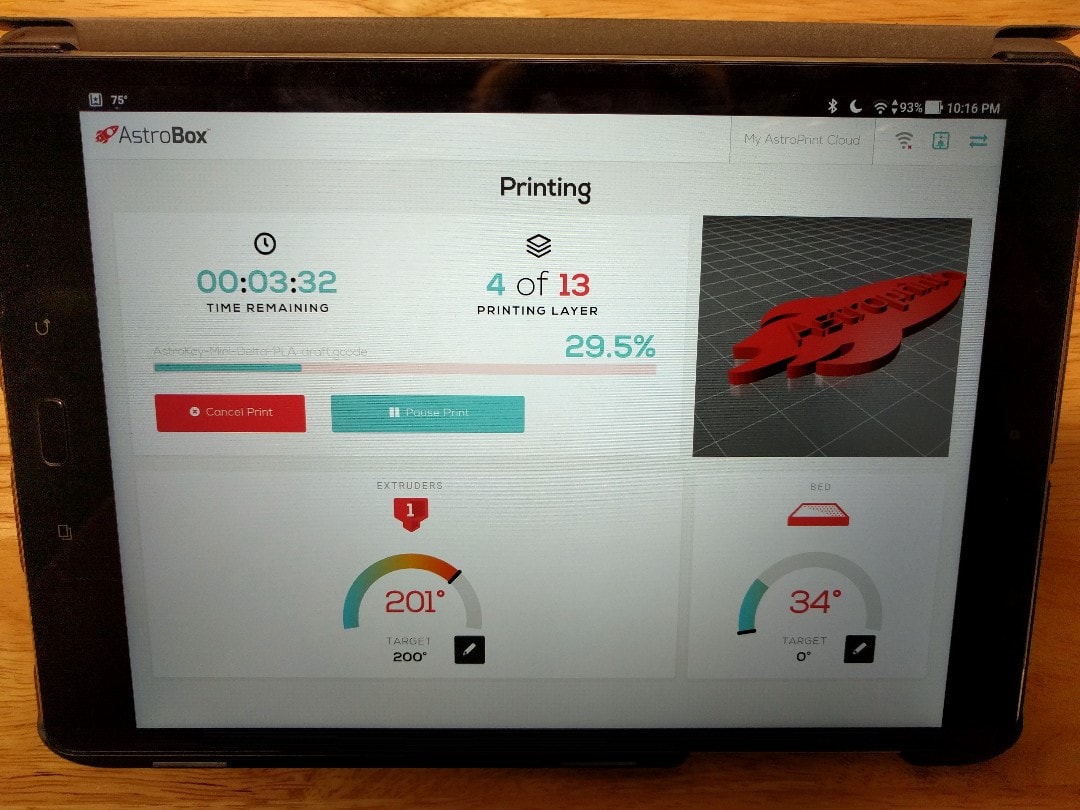
After using AstroBox for the past month it is definitely a great system to slice and print with. Whenever I’ve had an issue I’ve always received a quick response - though I really haven’t had too many issues. Mainly with scaling, which could simply be the machine or the material that I’m printing with - more on that for another day. The interface is easy to use and once you have a model sliced it’s a breeze to print - so easy that my oldest has even printed with it.
Overall
The AstroBox Gateway Raspberry Pi 3 Kit is a key component to my 3D printing setup. It’s very easy to setup and use, requiring only minimal configuration. I’d highly recommend it to anyone looking for a similar setup to what I have or just looking to get into 3D printing. If you’re going down this path and have the parts, definitely try it out first. If it works, think about buying the kit from them to make sure they stay around for a while.

Always follow the manufacturers instructions, this write up is simply the way that I do it, and it may or may not be the right way. Use your common sense when applying products to or altering your stuff and always wear the appropriate safety gear.
Links to the other posts in the 3D Printing series
- 3D Printing from a Chromebook
- Monoprice Mini Delta
- 3D Printing with Astroprint
- Scaling woes with 3D Printing
- Maxing out the Mini Delta 3D printer