It’s been a bit since the last post as we’ve been adventuring a lot lately. We’re getting ready for Halloween by printing out ghost decorations on the Monoprice Mini Delta and we’re maxing out the build volume in the process. Follow along and check out how to get the most out of the little printer.
With Halloween around the corner, I was feeling a little behind the curve when it came to all the cool stuff that I could print out for the holiday found on Thingiverse. I looked at dozens of spooky items, but kept coming back to the same will it be big enough thought. This is mainly because the Mini Delta can only print 110mm (4.33”) in diameter, but I typically only go to 90mm (3.54”) just so I have a little give. About the time I was going to give up the search I found it - a PacMan Ghost Lantern!
Then the problem - it was way too big for the Mini Delta straight out of Thingiverse. This meant that I needed to resize the little guy. Since I like TinkerCAD and it works well on my trusty ThinkPad Chromebook I quickly imported the PacMan Ghost Lantern STL into the application and resized it to 90mm by 90mm.
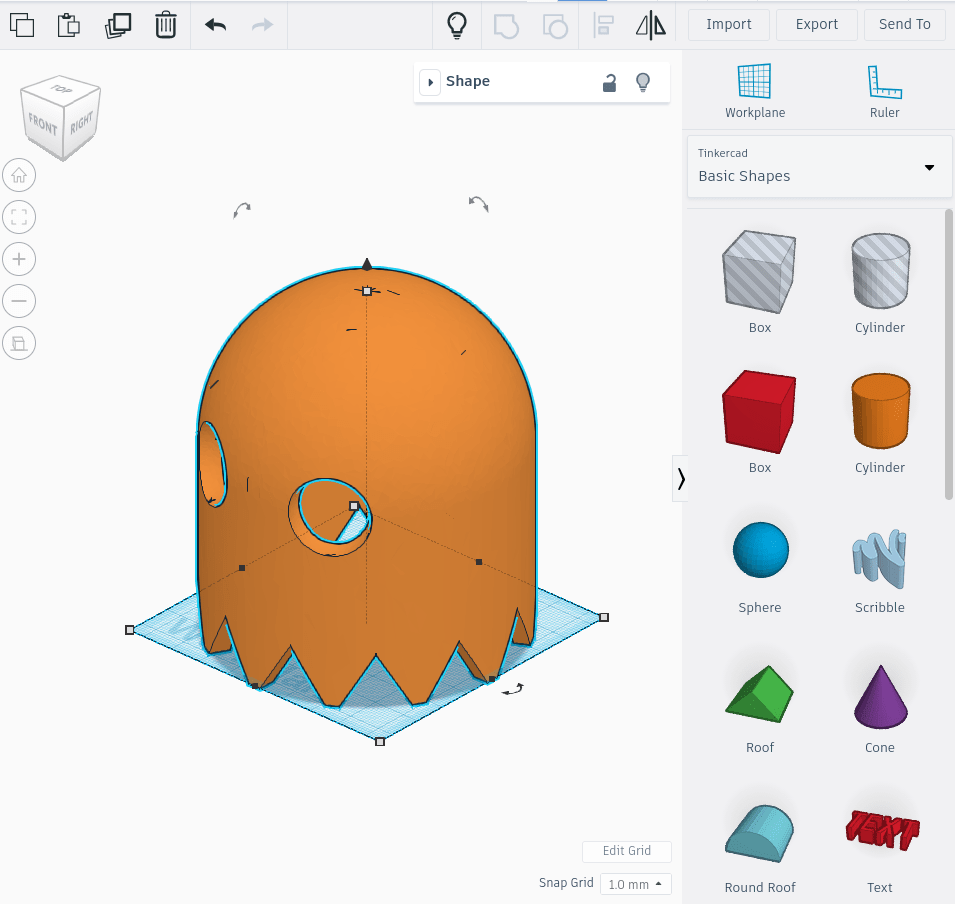
While not shown here I keep a template file in my TinkerCAD account with a simple cylinder pre-made in it with a diameter of 90mm and a height of 110mm. This lets me quickly make sure that whatever I print will fit on the delta.
I then exported the modified STL file into AstroPrint where I sliced it and sent it onto the printer. This is where I did do a few setting tweaks. First off, I printed the PacMan Ghost on draft setting. Secondly I made sure to use the bed adhesion setting as there were only little points that connected the print to the bed.
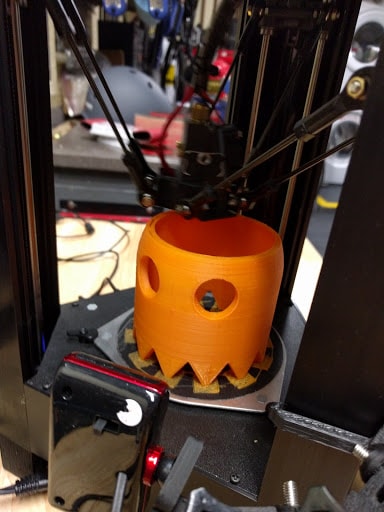
While the following video is really not the best quality, it does illustrate the challenge with this printing PacMan Ghost. All of the little feet are separate until the binding ring is completed. Luckily between manually slowing the Mini Delta with the button on the front of it and the bed adhesion I was able to make it work. The first time I didn’t slow the machine down, it knocked one of the triangles out of sorts.
Sorry for the low quality video, the camera was out of focus.
A few hours later, there was a nifty little ghost sitting in the the Mini Delta. With a quick sanding of the feet to remove the bed adhesion it was ready to go. With it being on draft settings, it came out really well.
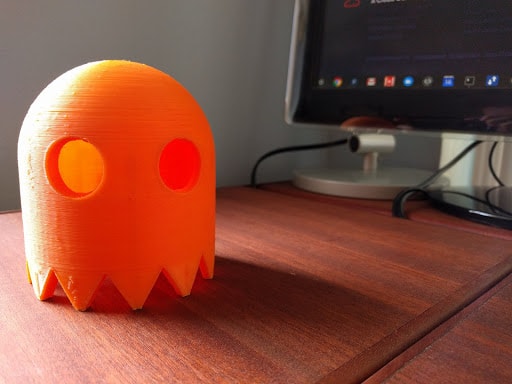
While not a perfect print, it’s good enough - especially since this was in draft mode. Keep a look out for a future write up as I think I’ve found a mod for the delta to make it print even better!
Overall
Even after almost a year, the Monoprice Mini Delta keeps surprising me with how much it can really do. With a little thought the printer can make some good sized prints. This was a fun little weekend project the kids were able to get a kick out of, especially since the prints are hollow - all of their toys are wearing ghost masks and ready for Halloween!
Links to the other posts in the 3D Printing series
- 3D Printing from a Chromebook
- Monoprice Mini Delta
- 3D Printing with Astroprint
- Scaling woes with 3D Printing
- Maxing out the Mini Delta 3D printer