If you’ve been following us for any length of time you probably already noticed that we huge fans of Chrome OS. With that there are often issues that need to be worked around or dealt with when working with a highly secured OS, with a semi limited app ecosystem. One of them is that you cannot simply go install an application to run your 3D printer. With restrictions though sometimes better more innovative processes can flourish. Follow along with us as we show you how we got into 3D printing for only a few hundred dollars and a Chromebook!
This is the first post in our Chromebook 3D Printing series, it will get into the high level of the project and the following posts will get into the details. The goal of this series is not to be a guide on how to do it for free, but to give you a way to get into 3D printing as simply as possible.
Parts needed
There is a minimum level of assumption such as a network and the like, but he following items are a what you will need to start 3D printing:
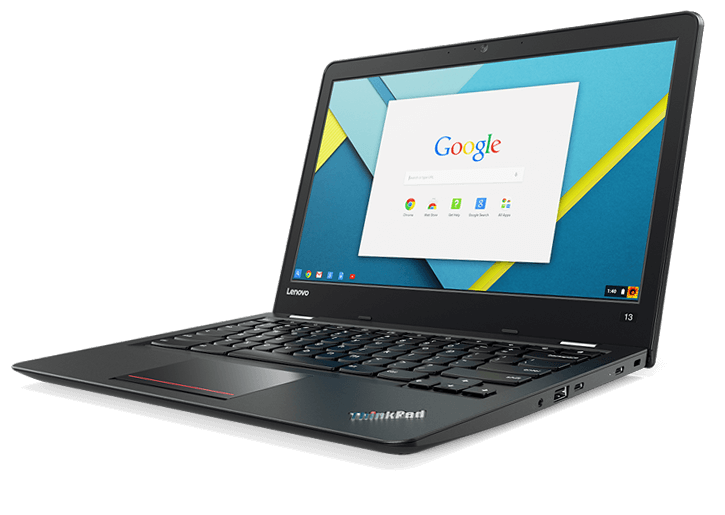
Chromebook
This almost went without saying, but for the pricing total its needed. I’m still loving my Thinkpad 13 Chromebook, but any Chromebook will do. If your a price shopper then you can sometimes get brand new Chromebooks for about $100 around black Friday.
Raspberry Pi 3
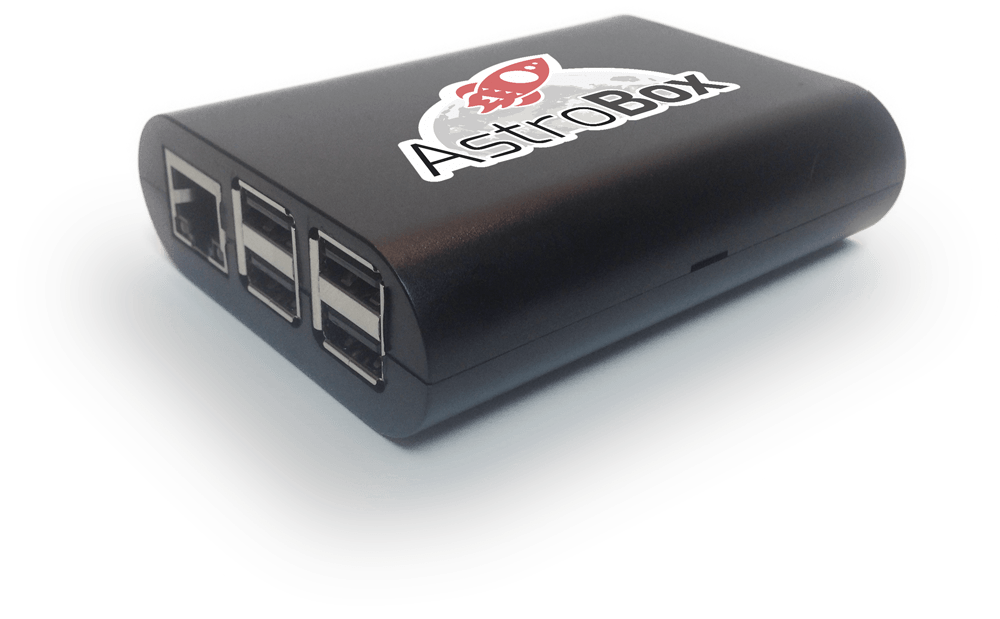
If you don’t know what a Raspberry Pi is the simplest answer is a $35 computer for hobbyist to tinker on. The cool thing about the Raspberry Pi is that it can be used with a few different software’s to run your 3D printer. The two popular ones out that right now are OctoPrint and AstroBox. I can only speak to AstroBox, but it’s just awesome to be able to remotely control your 3D printer.
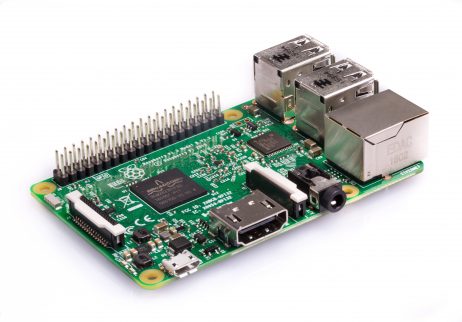
Using the Raspberry Pi allows you to be able to generate g-code (the file that runs the printer), remotely see the printer, and even print from your phone too! Aside from the Raspberry Pi you’ll also need an SD card and a wifi adapter if a network cord is not near by. If this is a little much, don’t sweat it you can buy a AstroBox Gateway Raspberry Pi 3 Kit for about $99 with everything you need in one package.
Monoprice Mini Delta
Thus far we haven’t even talked about the coolest part and it is the 3D printer. We choose the $159 Monoprice Mini Delta for a lot of reasons. The major ones were that for the $159 it came assembled - and that’s unbelievable on its own. Many of the ones we looked at under $700 came in pieces with eight hours or more of assembly time. It also has a self leveling feature, which was a big deal. Finally it was confirmed to be working with AstroBox, and it is even in the software’s drop down box.
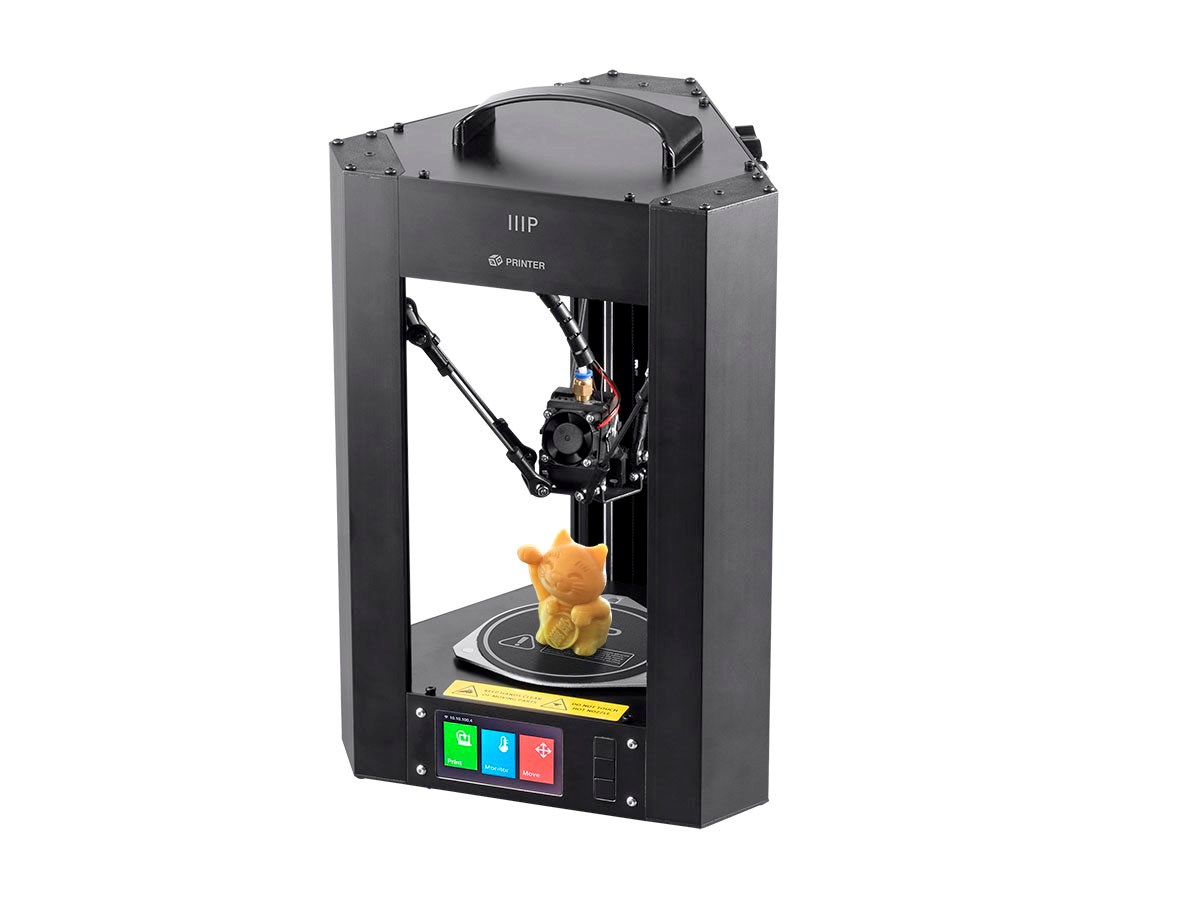
Price was not the only reason why we chose this printer. The first weekend that we had it we literally had it printing almost every waking minute while we were home. Out of all the prints we only had two that had issues, and really those might have been more on myself than the printer. Finally before we click the buy it now button we did a lot of research, and the only complaint that we heard was that it was a little loud, which is not that big of a deal.
Overall
This is an awesome way to get into the 3D printing hobby! Between Chrome OS, AstroBox and the Monoprice Delta we’ve been having a ton of fun with 3D printing. Our kids are even enjoying it as all of the test and learning prints have typically been dinosaurs. This little endeavor cost us a total of $180 for the printer with the filament, as the Raspberry Pi and Chromebook were lying around the house.
Keep an eye out for future post in this series which will be more in depth on all of the parts and pieces discussed here.
Always follow the manufacturers instructions, this write up is simply the way that I do it, and it may or may not be the right way. Use your common sense when applying products to or altering your stuff and always wear the appropriate safety gear.
Links to the other posts in the 3D Printing series
- 3D Printing from a Chromebook
- Monoprice Mini Delta
- 3D Printing with Astroprint
- Scaling woes with 3D Printing
- Maxing out the Mini Delta 3D printer