It’s the little things that make writing code much more enjoyable. While I have been extremely happy since resetting my Chromebook back to stock, since I can run all the applications that I need - I really wanted multi window for Termux. While Chrome OS will not let you run multiple copies of Termux there is an application called tmux which will allow you to split up the one window into many regions.
Let’s set the stage. In Termux you can have multiple sessions, and their pretty easy to get to. Just swipe the side and then select the new session button and type away. To jump between them you can simply hold the crtl+alt+number key of sessions you want and boom you are there.
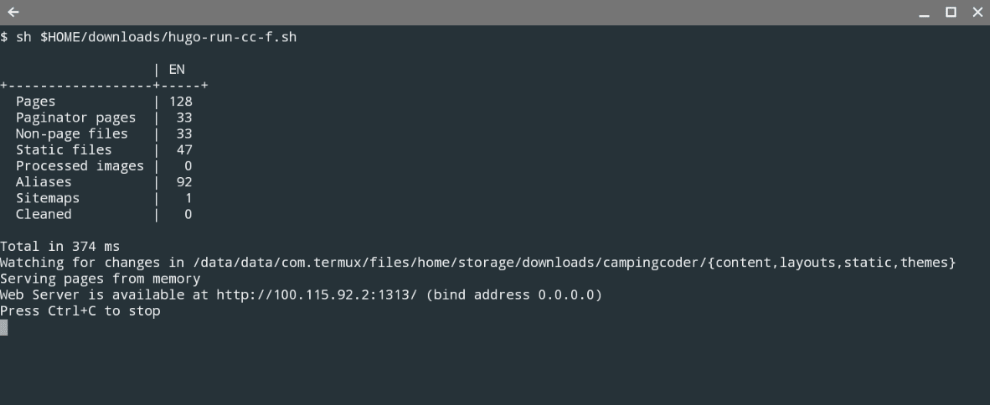
Here’s an example of the single default window
The problem arises when you need to see something reacting to what you’re doing in another session. An example would be a git reset to trigger a gulp task or a gulp task triggering a hugo build. This causes a few pain points with all of that toggling. This got me to look for a better solution.
This lead me to tmux, which in their words is:
Terminal multiplexer implementing switching between several programs in one terminal, detaching them and reattaching them to a different terminal
Long definition over simplified for my needs is that tmux allows you to see multiple terminal windows at the same time. This was perfect and even better since it’s already a package for Termux, and only needs the following typed to install.
pkg install tmux
Once installed it’s as simple as the following command for a horizontal split in the terminal screen.
tmux split-window -h
Or vertical if you like that better!
tmux split-window
This allows me to end up with something like below. In the image I am running gulp, hugo, git, and a spare window for browsing the file structure.
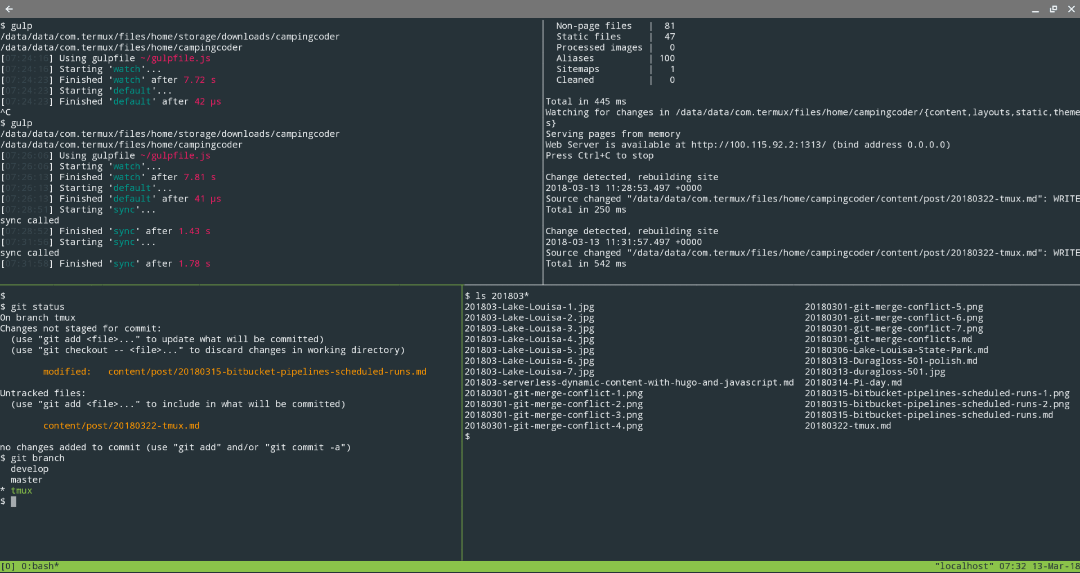
The other cool feature is that you can resize the windows using the following key combination ctrl+b+arrows. Additionally, jumping between windows is as simple as clicking in the window - not the green border on the bottom left indicating that it is active. This really allows you to tailor it to your current needs.
Overall
In general, this is a great solution to the limit of one Termux application, which Chrome OS and Android have. It is not without its faults. Some of the tmux commands did not work for me, which is frustrating when trying to learn something new. This really did not effect my use case for tmux though. I have seen a few posts on Stack Overflow where folks were saving their setting to a shell script, but it just seems to complicate something simple. Despite these few things, tmux running inside of Termux on a Chromebook really is a great overall solution, and makes my day just that little bit better!
Reference
The following posts helped me on this project:
Links to the other posts in the Chromebook series
- Android Apps arrive on ThinkPad Chromebook 13
- Running Hugo on Chromebook
- Thinkpad Chromebook a year later
- Resetting My Chromebook Back to Stock
- Hugo + gulp = Chromebook awesomeness
- Running Tmux for Termux on a Chromebook
- Hugo + SHH - gulp = a new workflow
- Hugo and droppy, Chromebook friends
- 3D Printing from a Chromebook
- Monoprice Mini Delta
- 3D Printing with Astroprint
- Scaling woes with 3D Printing
- Maxing out the Mini Delta 3D printer
Always follow the manufacturers instructions, this write up is simply the way that I do it, and it may or may not be the right way. Use your common sense when applying products to or altering your stuff and always wear the appropriate safety gear.