One of my favorite things about writing code is that you can learn or fail fast - typically the failures teach you a lot more too. The quick iterations really are fun and when they make your day just an increment better, you get a sense of accomplishment. If you’ve read my initial running Hugo on a Chromebook post which was followed by the Hugo on 100% stock Chromebook you’ll get a sense of how the little iterations make a difference.
After getting Hugo to run on the stock Chromebook, I started to get a better feel for what Termux was all about. With that, I started wondering what other tool chains were out there to help me reduce the redundant tasks I was doing. One of them - really the only one left from the whole Hugo on Chromebook project - was to get Hugo’s awesome render on save feature working. While simply restarting Hugo was not that bad it was really the last itch in the process for myself at least.
Getting started
We’re not going to cover all of the little steps that have been covered in the earlier posts, but to start we’ll need the following:
- A Chromebook - like the ThinkPad 13 (I love this little workhorse)
- Termux - with the following see Hugo on 100% stock Chromebook for help on this.

gulp.js
This really is the secret sauce in getting the last part of Hugo working on the Chromebook as one would expect. For those who haven’t played with it, gulp.js is a task runner which can do a bunch of different repetitive tasks automatically for you. It’s a node.js package and installation couldn’t be easier.
To install open the Termux window and type the following:
npm install --global gulp-cli
Then change your directory to where you want to work in and create a gulpfile.js file. Keep in mind the problem that we are trying to solve here is that Hugo does not see the file change events when running in Termux’s file structure, so our real goal is to make it see the changes. So to simplify this we need to create a folder in Termux’s file structure - we can call it myHugo for this exercise. Now lets open the gulpfile.js you created earlier and put the following in there:
var gulp = require('gulp');
var newer = require('gulp-newer');

// Set you targets - note they are of Termux's structure
var source = '/data/data/com.termux/files/home/storage/downloads/myHugo';
var destination = '/data/data/com.termux/files/home/myHugo';

// I like to remind myself of the targets
console.log(source)
console.log(destination)

// If there's something newer, copy it over
gulp.task('sync', function() {
  console.log('sync called'); // This is just for show
	return gulp.src(source + '/**/*')
		.pipe(newer(destination))
		.pipe(gulp.dest(destination));
});

// Watch all the files and folders for changes
gulp.task('watch', function() {
	gulp.watch([
	  source + '/**/*',
	  source + '/**/*.*'
	  ], ['sync']);
});

// Default Task - it tells gulp to kick off the watch function
gulp.task('default', ['watch']);
Save the file and then from Termux run the command gulp
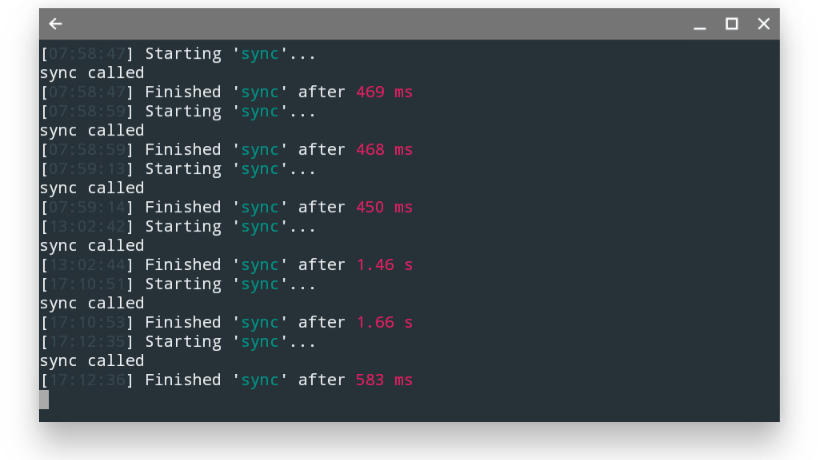
Now when you change, add, or delete files you should see the above. Now go ahead and while that is running swipe to the left in Termux and open another session window and fire up Hugo from the myHugo directory. While this might seem like an extra step, the important part is that Hugo can now see the changes made to all of the files and re-renders accordingly for that normal Hugo feel.
Overall
This was a fun little project and I’m really happy with the results. I now have zero issues or odd workarounds running Hugo on a Chromebook and even got some exposure to gulp, which I had been putting off for years. Keep in mind this is really only a fraction of what gulp.js can do for you, so go ahead and explore it. If you’ve found this helpful check out the other posts in the Chromebook series below for other cool ways to extend the functionality of your Chromebook.
Reference Information
The following post are what helped me get through this little project
- Getting Started with Gulp
- Stackoverflow Question
- gulp.js read me
- Termux - great article by Stefan Stoychev and where the base gulp file comes from
Links to the other posts in the Chromebook series
- Android Apps arrive on ThinkPad Chromebook 13
- Running Hugo on Chromebook
- Thinkpad Chromebook a year later
- Resetting My Chromebook Back to Stock
- Hugo + gulp = Chromebook awesomeness
- Running Tmux for Termux on a Chromebook
- Hugo + SHH - gulp = a new workflow
- Hugo and droppy, Chromebook friends
- 3D Printing from a Chromebook
- Monoprice Mini Delta
- 3D Printing with Astroprint
- Scaling woes with 3D Printing
- Maxing out the Mini Delta 3D printer
Always follow the manufacturers instructions, this write up is simply the way that I do it, and it may or may not be the right way. Use your common sense when applying products to or altering your stuff and always wear the appropriate safety gear.