One of the hidden things that no one really talks about - mainly because it’s more of a ‘have to do’ is camper batteries. They are definattly not exciting, but they are needed to keep you’re trailer functioning the way it was designed. We’ll cover what the gibberish numbers mean on this post and how to pick up a replacment.
The 800 pound gorrilla
No, I’m not talking about the weight of the battery in your rig, I’m talking about all the information out there that says to upgrade here or there. Don’t get me wrong, I like to upgrade things, but it’s only when it makes sense. That means being honest with yourself on how your going to use you camper.
Personally, I like the idea of dry camping in the winter in Florida in some semi remote spot, or inexpensive site such as the wildlife management area’s. Then reality calls, at this moment we have two kids under four - we are not going be dry camping anytime soon. So why would we spend the money or effort upgrading our rig to be able to do that?
When your battery does go, it’s usually not at the best time - we’ve actually been on a multi stop trip and had to swap it out at the nearest auto parts store. Since that trip we’ve been a little more diligent about the maintenance, and testing of the battery. This is mainly so we can price shop and save some money.
Figuring out the numbers
Was the old one good?
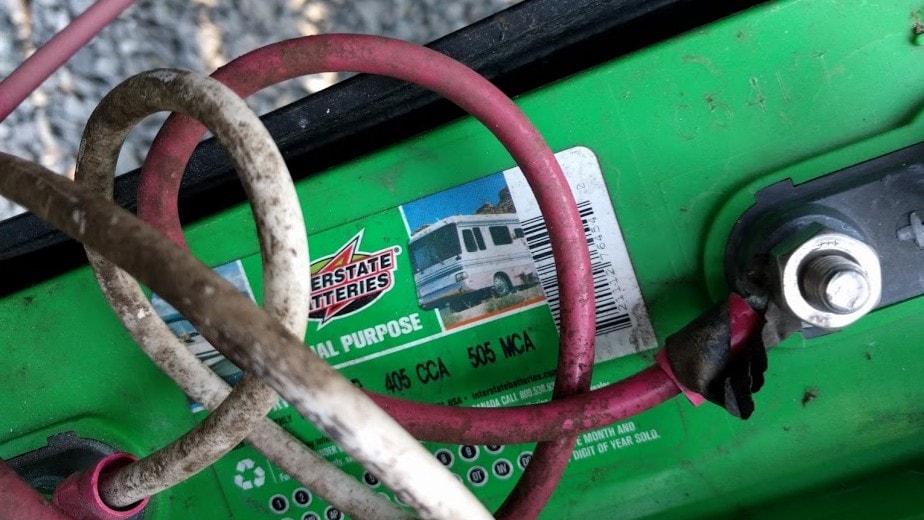
There are a few things to consider when ordering a replacement battery. First and most important is were you happy with the last one? If you were then chances are order the same part number up and your good to go. With our old Interstate Battery we were very happy with the four years that we got out of it in the Florida sun. The problem was we couldn’t find a place - at least online where we could buy another one.
Size
This brings us to the physical size question. If the battery is outside camper, then you could always change the box quickly if you wanted to. In most cases you’ll most likely want to keep with the same size - it’s easier and keeps the weight generally close to the same.
My super accurate measurement system

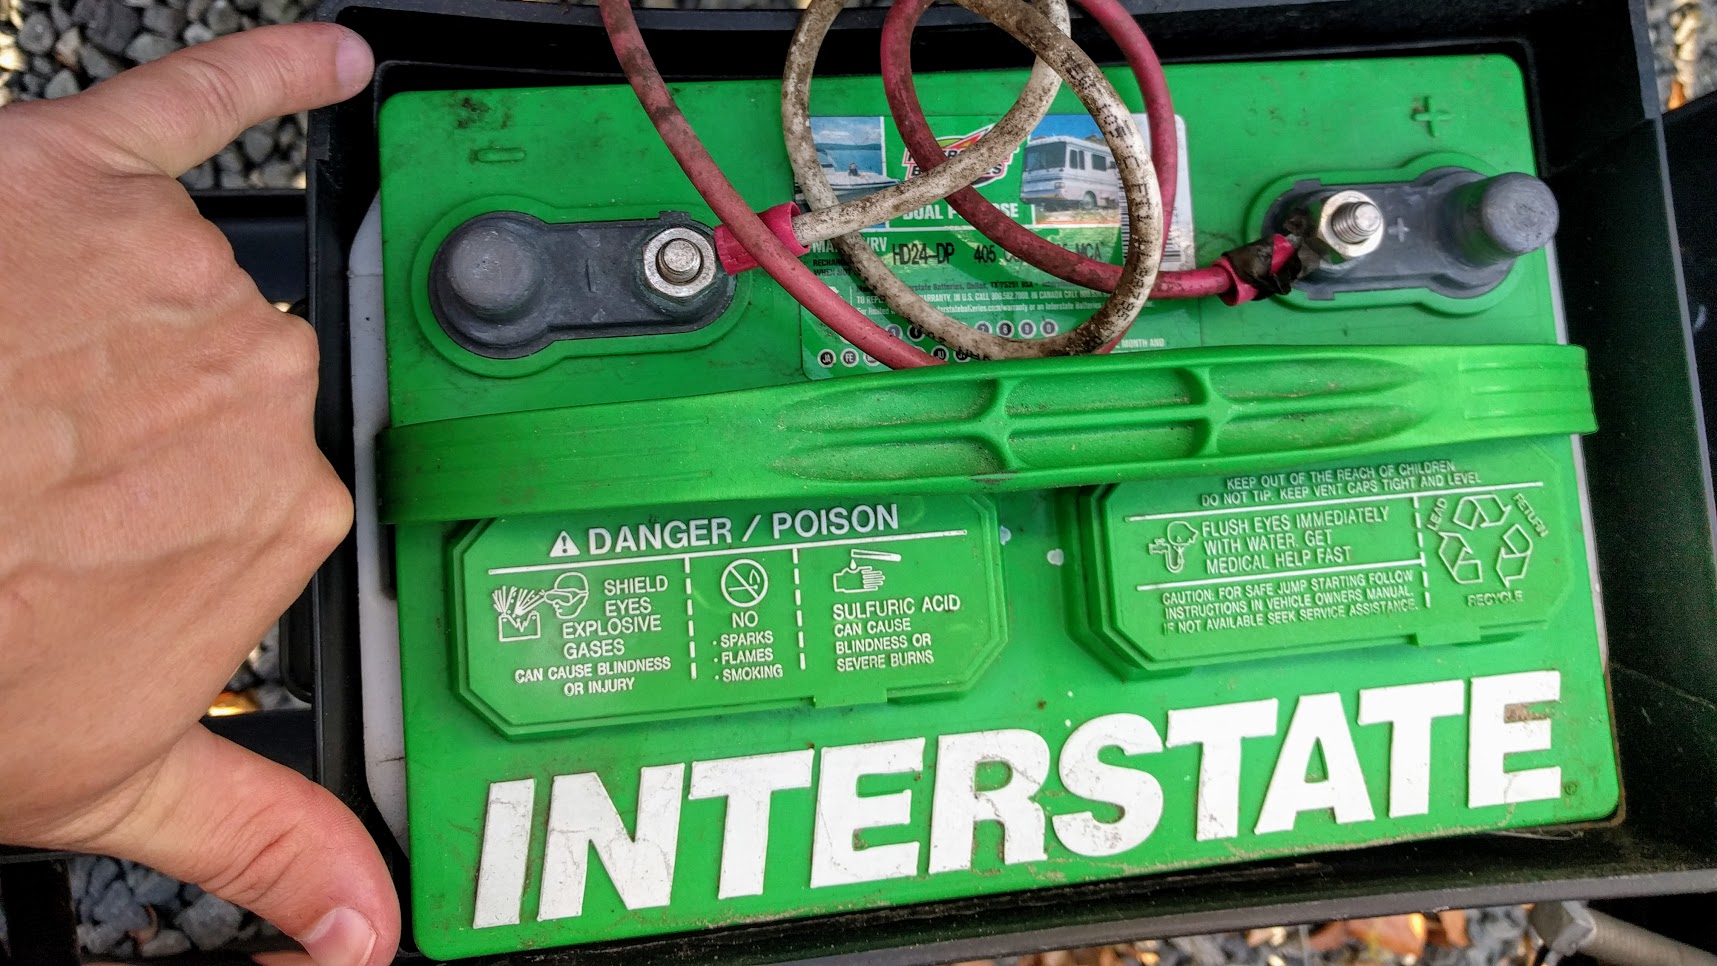
This is a 24 series battery
When you open up the battery box look around the label, usually there is a number calling out the size. Again this is a 24 series battery, which is a fairly standard deep cycle battery size.
Plugs and ports
We’ll not so much ports, but like everything else interface matters! Most deep cycle batteries will have studs for nuts or wing nuts as well as the standard batter lugs. If possible go with the studs as they are a lot easier to work with. We actually upgraded the last two campers to this format and it made everything much simpler. In past campers we’ve connected everything from float chargers to solar panels with the wing nut stub combination.
Power
Generally with car batteries you look at cold cranking amps or CCA’s, but in a deep cycle battery you really care about is the reserve capacity that the battery has. This is also where you have a little wiggle room when looking for a new battery. We upgraded to a 130 minute reserve capacity battery from a 100 minute reserve capacity battery without any noticeable size or weight changes, while keeping the price reasonable.
Searching for the replacement
Since we could not find a like for like battery we ended up searching online at the local auto part stores for a replacement. This is where you can definitely save some money. Don’t be afraid to search for one that will meet your needs at each of the places and then search for a coupon code. We ended up finding a coupon code for 20% off, which meant that we got a 24 series deep cycle battery for about $70 after the core charge return. This is a huge discount in comparison to our last replacement of about $160 when we were on the road.
Overall
While there is never a good time to replace a battery, it’s a lot easier when you have a little time and are at home. Were we lucky that we caught the battery issue right after a camping trip. This not only let us save some cash, but also allowed us to get a little upgrade in the process.
Always follow the manufacturers instructions, this write up is simply the way that I do it, and it may or may not be the right way. Use your common sense when applying products to or altering your stuff and always wear the appropriate safety gear.
Links to the other posts in the Camper Maintenance series
- Duragloss 531 Vinyl Protectant
- 303 Aerospace Protectant Spray
- Review of Duragloss 501 RV Polish
- Trailer Batteries 101