Based on the post silence is not golden where our air conditioner failed after a few seasons, we swap another air conditioner out at about the same age - this time on a TrailManor. Follow along with the replacement to see how it turned out!
Note
We covered many of the reasons that we like the Atwood Air Command unit in the Installing Atwood Air Command write-up, so we won’t rehash those here. We’ll keep this article mainly to what is needed when swapping out the air conditioner on a TrailManor.
Removal
The removal was straight forward. We disconnected the power from the TrailManor, and started unscrewing the inside panel and then unbolted the existing unit from the camper. Unfortunately, we had to use a set of ladders to remove the old AC off the roof as folding the camper down would have been more of a hassle.
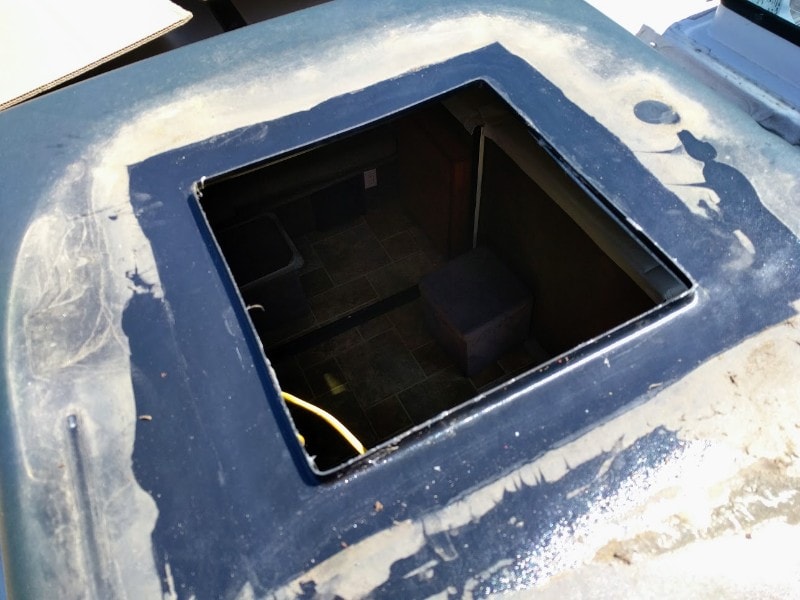
Once the existing AC was removed, we removed all of the left over silicone and cleaned where the new Atwood Air Command was going to go. This part is important as you don’t want any odd gaps in the seal. While you’re there you might also want to clean the other caulk joints that hold the black adapter on there.
Installation
The install didn’t differ too much from the Installing Atwood Air Command write-up, but there were a few small differences. The challenges were not enough to stop us, knowing them before going into the project would have made it a simpler change out.
Issues and work around
Issue #1 The case of the dropping shroud
On careful inspection, you can see where the caulking was breaking free. Lesson is, don’t shim unless you want more work later.
First off there is a plastic ‘cap’ over the place where the AC goes. This was the biggest issue in the whole swap. Initially, we shimmed the unit to reduce the sag in the plastic which went towards the center, but that ended up not being a good idea, and we removed them. This was mainly due to the top popping off when the caulk bead was broken.
Issue #2 Mounting holes
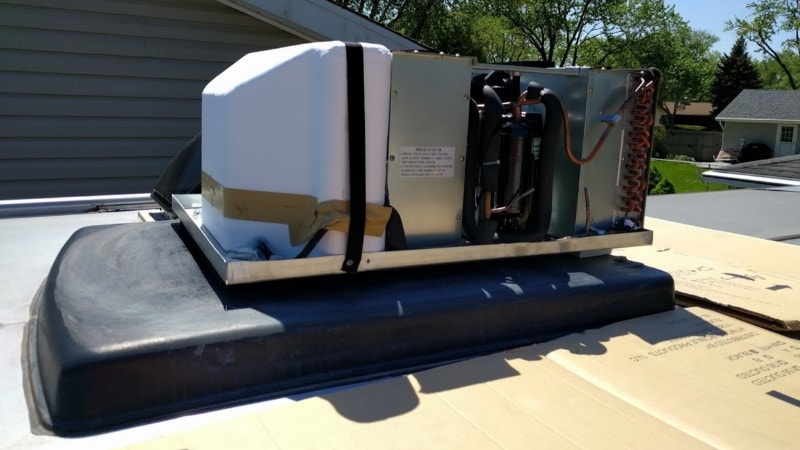
Next was mounting the primary four bolts which held the Atwood Air Command to the camper. They are spaced correctly because they were not an issue on the prior installation, the black shroud was a little small. This was resolved with a drill and some sealant.
Issue #3 Deflection
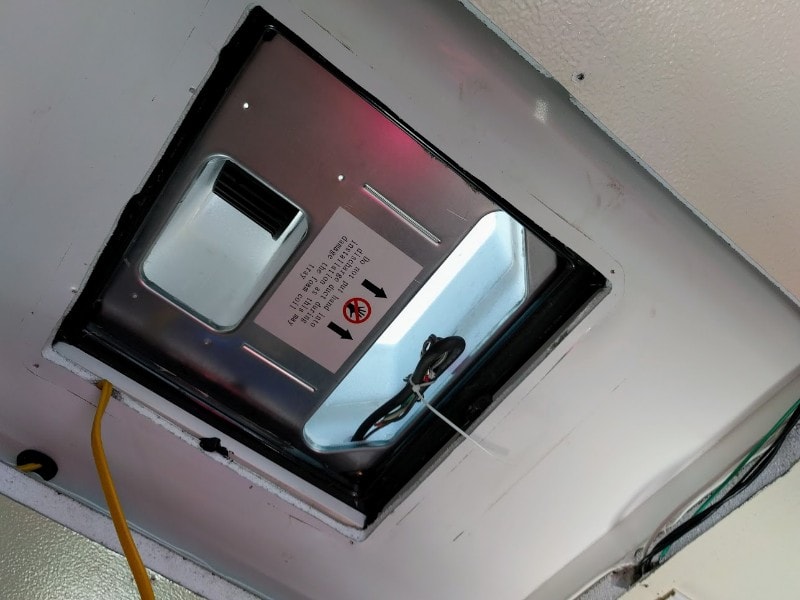
After two prior issues we thought we were home free, but fate had other plans. As we were test fitting the mount for the inside control we ran into a slight bowing issue which prevented the control unit from being installed. This was fixed by using a heat gun and bending the plastic a little. This might be isolated to this TrailManor installation, but it’s worth mentioning.
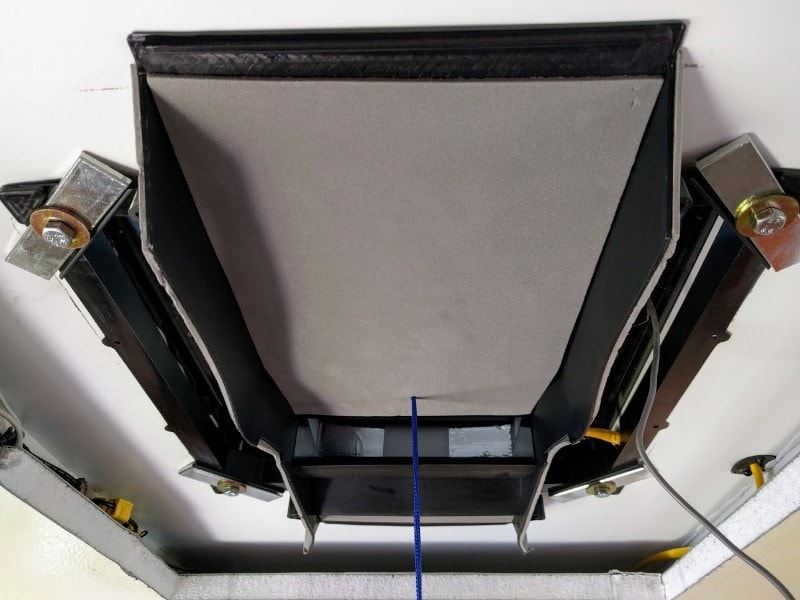
Issue #4 Cleaning the filters
We knew that cleaning the filters was going to be an issue before one bolt was removed. Due to the folding feature of the Trail Manor the roof mounted AC sits in a little recessed box. On the Atwood Air Command the filters come out the side instead of the the bottom like the old unit. This is a simple fix of just screwing four screws on the inside panel. A better solution, which we did not implement at this time would be to stud and wingnut the panel, or even 3D print a new filter clip system - especially with the Monoprice Mini Delta Printer that we just picked up.
If you have a folding camper like the TrailManor and want a cool decal like the one below use coupon code CAMPINGCODER20 to receive 20% off your purchase!

Overall
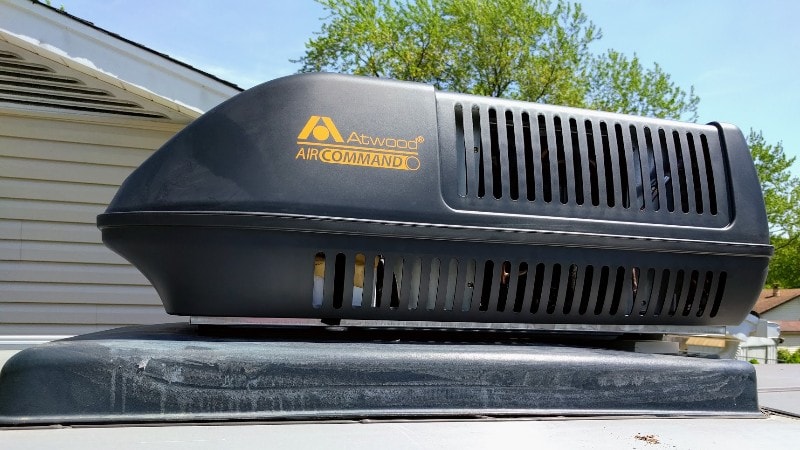
Even with the issue with cleaning out the filters, the Atwood Air Command is a big upgrade over the prior air conditioner. The top lifts noticeably easier as the Air Command is noticeably lighter than the old AC, and you can have a conversation inside the camper. While it’s not the simplest upgrade one could do, it makes a big difference.
Always follow the manufacturers instructions, this write up is simply the way that I do it, and it may or may not be the right way. Use your common sense when applying products to or altering your stuff and always wear the appropriate safety gear.