
Thus far in our Learning git series, we talked about an awful lot of theory and configuration, but haven’t actually used git for what git does. In this post we are going to discuss what we need to do in order to start tracking files with git. Additionally, we will review the scope of git on your files as well.
Like everything in the git-verse there’s more than one way to start using it. We will first look at a few graphical user interfaces, and then move onto the command line. For most folks the user interface is the route to go while learning git, but the command line really is easy too - it just take a little more when you’re learning.
The git init command
This is the magical command that tells git to start tracking a folder. Regardless of git client this step is almost always the same. First you’ll need a folder, typically a black one, but if you’re starting to use git on a project where you didn’t have any source control on you can also use it there.
Using a graphical user interface
There are a couple of graphical user interfaces that come to mind, which are cross platform and really easy to use. More importantly, they work on both Windows or Mac and are both free.
- Free for non-commercial use so you can learn on it - but this one also works on Ubuntu
There are many different interfaces out there, but as of the time of this writing, these are probably the best to learn on. I’m not going to cover how to install either of them as it will be different for each system.
Once you have the interface installed, you simply need to find the ‘init’ or ‘initialize’ button and click it. Both interfaces will then guide you through the process of selecting the folder you want to track. Now you’re ready to start committing code.
Using the command line
The command line is equally simple or simpler depending on your comfort level with it. You’ll need to make sure that you have git installed, on windows you can find it here git-srm and on Chrome OS I’d suggest installing it through Chromebrew. If using Chromebrew you’ll need to be in developer mode.
Then you will navigate to the folder you want to use git on, and then type the following:
git init
That’s it you can now start using git on that folder.
Applying the git cycle
If you’ve been following along with our Learning git series then you can take a look at the git cycle post to get a general idea of the typical pattern that you can start using now. Since graphical user interfaces vary we’ll quickly review the command line steps.
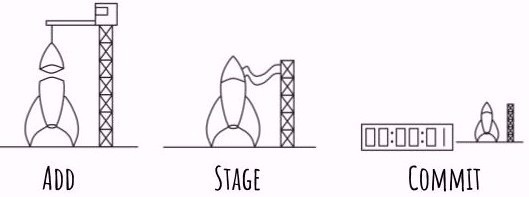
Add
This command simply tells git to stage a file, there are two major options to it.
The first adds all of the changed files to the stage.
git add .
The second allows you to be selective on your additions to the stage. This works out better if you are adjusting some files for debugging while you write your code and don’t want all of the files.
git add -i
Stage
This step allows you to see the status of your files on the stage.
git status
Commit
This is the final step of the cycle making your changes logged into the source control.
git commit -m "This is my first commit message"
You now can continue this cycle as many times as needed to keep track of your code
What’s next
So far in the series you can now start a git repository and track files. In the next installment we will cover remotes and how to get your code there. If you missed one of the other articles in the series, click on them in the below series link.
Links to the other posts in the Learning git series
- Intro to git - Part 1
- The git cycle
- Setting up git
- Initializing git
- What's a remote in git
- git branches simply explained
- git Merges Demystified
- How to use git flow
- git stash and pop
Always follow the manufacturers instructions, this write up is simply the way that I do it, and it may or may not be the right way. Use your common sense when applying products to or altering your stuff and always wear the appropriate safety gear.